Leather Tooling and Carving: An Illustrated Beginner's Guide to Leathercraft
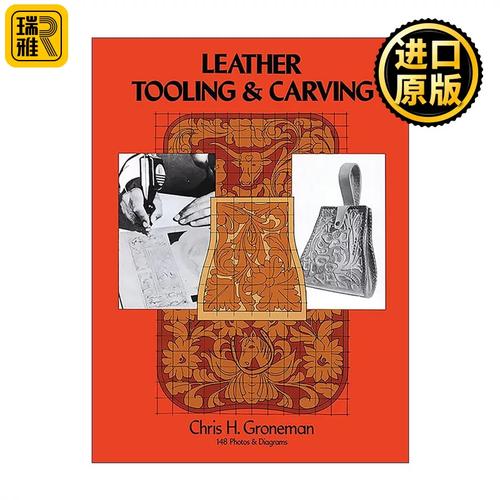
Leather tooling and carving are two of the most rewarding techniques in leathercraft. This illustrated beginner's guide will walk you through the essential tools, materials, and step-by-step processes to start your journey in leather working.
Introduction to Leather Tooling and Carving
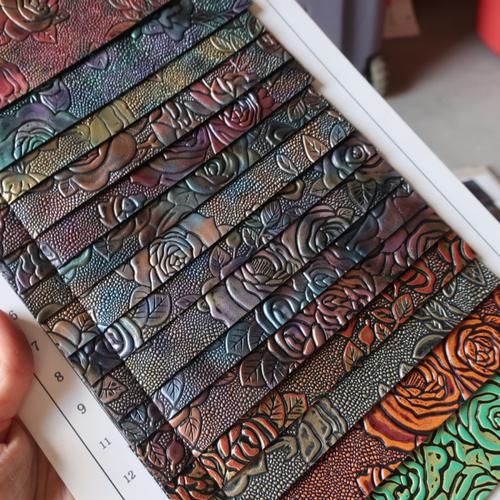
Leather tooling, also known as leather stamping, involves using tools to create impressed designs on the surface of veg-tanned leather. Leather carving goes a step further, where you cut and shape the leather to create three-dimensional effects, often used in floral or western patterns. Both techniques rely on the same foundation: vegetable-tanned leather, moisture, and the right tools.
Essential Tools and Materials
To begin, you will need:
- Vegetable-tanned leather (typically 4-6 oz for tooling)
- A marble or granite slab as a working surface
- Rawhide or poly maul
- Swivel knife for carving
- Basic stamping tools: beveler, pear shader, backgrounder, veiner, seeder
- Sponge and water for casing the leather
- Strop and jewelers' rouge for sharpening your swivel knife
- Tracing paper, stylus, and a design template
Preparing the Leather
Casing the leather is the most critical step. Dampen the leather with a sponge and let it dry until the surface returns to its natural color but feels cool to the touch. It should not be shiny or wet. This state allows the leather to accept impressions without stretching or smearing the grain.
Step-by-Step Tooling Process
- Transfer the design – Place tracing paper over the leather and trace the pattern with a stylus. You can also use a ballpoint pen to create a slight impression.
- Carve the outline – Using a swivel knife held at a 45-degree angle, cut along the main lines. Keep the blade sharp and the cuts smooth.
- Bevel the edges – Use a beveler tool and a maul to push down the leather on one side of the cut line. This creates raised edges and depth.
- Add texture – Use pear shaders, veiners, and seeders to add details like petals, leaves, and centers.
- Background – The backgrounder tool creates a stippled effect on the areas you want to recede.
- Finish – Let the leather dry thoroughly away from direct heat. Then apply a finish such as mink oil, beeswax, or a commercial leather finish to protect and enhance the tooling.
Common Beginner Patterns
Start with simple shapes like a flower, heart, or a traditional leaf pattern. Western floral designs are classic and offer a good mix of carving and stamping. Always practice on scrap leather before committing to a project.
Tips for Success
- Keep your swivel knife razor-sharp and strop often.
- Case the leather properly; too wet or too dry ruins the tooling.
- Work on a hard, smooth surface for best results.
- Take your time. Press, don't pound, with your maul.
Conclusion
Leather tooling and carving open a world of creative expression. With practice and patience, you'll be able to craft intricate designs on belts, wallets, purses, and more. Remember to sharpen your tools, study patterns, and enjoy the meditative process of leather craft.
如若转载,请注明出处:http://www.tjyxfkj.com/product/52.html
更新时间:2026-10-05 13:18:42